Difference between revisions of "Boss"
Coa wiki 5 (talk | contribs) m |
Coa wiki 4 (talk | contribs) |
||
| (20 intermediate revisions by 3 users not shown) | |||
| Line 1: | Line 1: | ||
Bosses are some of the most challenging fights in Curse of Aros. These creatures are the guardians of their areas and also drop some very unique and powerful gear. These can be assigned as a task from the boss task board. Below is a list of the current '''Bosses''' in Curse of Aros. | Bosses are some of the most challenging fights in Curse of Aros. These creatures are the guardians of their areas and also drop some very unique and powerful gear. These can be assigned as a task from the boss task board. Below is a list of the current '''Bosses''' in Curse of Aros. | ||
| − | + | __TOC__ | |
| − | + | ||
| − | + | <!-- YOU CAN EDIT THIS PAGE FREELY, (This can only be seen by other wikian editors --> | |
| − | + | ||
| − | + | ||
| − | + | '''''This Page WIP''''' | |
| − | + | ||
| − | + | ||
| − | + | == <span style="visibility: hidden;">War Bat</span> == <!-- Anchor for TOC --> | |
| + | {| style="width:100%;" | ||
| + | |- | ||
| + | | style="width:50%; vertical-align:top; padding:10px; background-color:#2c3552; color:white; border-radius:10px; box-shadow: 0 4px 8px rgba(0, 0, 0, 0.3);" | | ||
| + | <font size="5">[[War Bat]]</font> <br> | ||
| + | <font size="2">One of the many earlier bosses found in the land of Curse of Aros</font> <br> | ||
| + | |||
| + | [[File:War Bat m.gif|150px|left]] | ||
| + | |||
| + | <font size="4"> | ||
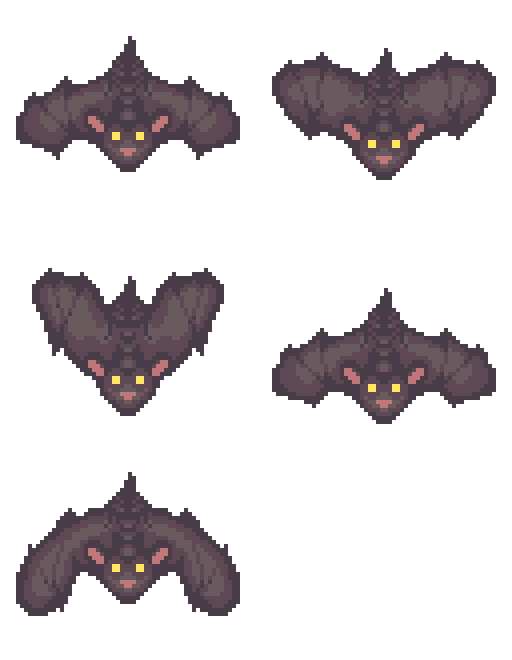
| + | The '''War Bat''' can be found inside the head of a tomb, accessed with a {{Item|Bat Orb}}. When face with danger, War Bat will summon 4 [[Forest Bats]] in each corner of the room. During this War Bat will become invincible, until all forest bats are defeated. Defeating this boss can reward you with common goods such as crimsteel and copper equipment, common health potions, and rare bat themed accessories.</font> | ||
| + | |} | ||
| + | |||
| + | == <span style="visibility: hidden;">Nature Elder</span> == <!-- Anchor for TOC --> | ||
| + | {| style="width:100%;" | ||
| + | |- | ||
| + | | style="width:50%; vertical-align:top; padding:10px; background-color:#2c3552; color:white; border-radius:10px; box-shadow: 0 4px 8px rgba(0, 0, 0, 0.3);" | | ||
| + | <font size="5">[[Nature Elder]]</font> <br> | ||
| + | <font size="2">Located North of Spawn, Inside of the Nature Dungeon.</font> <br> | ||
| + | |||
| + | [[File:Nature Elder m.gif|150px|left]] | ||
| + | |||
| + | <font size="4"> | ||
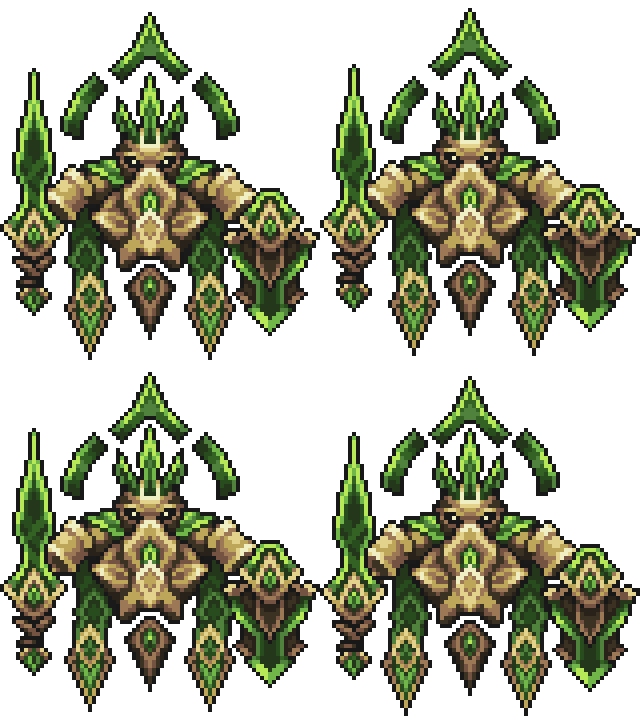
| + | This boss is located in the [[Nature Dungeon]], but in order for the path to open you must kill 50 [[Baby Seedlings]], or normal [[Seedlings]]. Upon Completion you will get the following message "You hear the sound of roots growing from the most North-West room." Welcome to the puzzle room, in order to get past this stage you must light up all 4 torches (Located North, East, South, and West in this room). Once all 4 torches are lit the portal in the center of the room will light up. Now you can enter the boss room and start the fight! '''WARNING: THIS BOSS CAN ONLY BE FOUGHT WITH MAGIC. MELEE PETS AND MELEE ATTACKS WILL NOT DAMAGE THE BOSS OR ITS MINIONS.''' While entering the boss room your screen will fade to black and display the following message: ''"The room goes dark and you hear faint sounds in the distance...""'' You are then greeted with a minion that's impervious to melee attacks and must be '''attacked with Magic'''. During the Boss fight this boss can teleport you to the center of the room, restricting you from moving for a few seconds dealing 40% damage to your current HP pool. Nature torches can spawn around the room hitting you with 33% of your HP pool in magic damage. Once the Boss reaches 10% hp the screen will once again fade to black displaying the following message: ''"The floor crumbles below you as you begin to free-fall into a dark abyss."'' Once your screen is back to normal you are then greeted with Seed Guardians (Amount depending on how many players are in the first stage) Once killed the boss begins again with full hp allowing you to finish off the boss and collect your spoils. This boss only drops 2 items after death ranging from the nature staff, to materials useful for [[Spellbinding]].</font> | ||
| + | |} | ||
| + | == <span style="visibility: hidden;">Rock Demon</span> == <!-- Anchor for TOC --> | ||
| + | {| style="width:100%;" | ||
| + | |- | ||
| + | | style="width:50%; vertical-align:top; padding:10px; background-color:#2c3552; color:white; border-radius:10px; box-shadow: 0 4px 8px rgba(0, 0, 0, 0.3);" | | ||
| + | <font size="5">[[Rock Demon]]</font> <br> | ||
| + | <font size="2">Located Deep within the Abandoned Mines.</font> <br> | ||
| + | |||
| + | [[File:Rock Demon m.gif|150px|left]] | ||
| + | |||
| + | <font size="4"> | ||
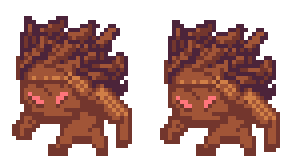
| + | Located deep within the [[Abandoned Mine|Abandoned Mine's]] this boss has a small % chance of spawning when a player kills a [[Rock Fiend]]. At various points during the fight, the Rock Demon will begin soaking all damage taken, during this phase the boss will be invincible. Afterwards Rock Demon will return all damage taken back to the player dealing massive amounts of damage. At any point during the boss fight, Rock Demon will summon [[Rock Fiends]] to assist in the battle. This boss is best farmed for obtaining Deadrock gear such as the [[Deadrock Shield]] or valuable accessories such as the [[Amulet of Focus]].</font> | ||
| + | |} | ||
| + | == <span style="visibility: hidden;">Spinus</span> == <!-- Anchor for TOC --> | ||
| + | {| style="width:100%;" | ||
| + | |- | ||
| + | | style="width:50%; vertical-align:top; padding:10px; background-color:#2c3552; color:white; border-radius:10px; box-shadow: 0 4px 8px rgba(0, 0, 0, 0.3);" | | ||
| + | <font size="5">[[Spinus]]</font> <br> | ||
| + | <font size="2">Located in the outskirts of Shadowdune.</font> <br> | ||
| + | |||
| + | [[File:Spinus m.gif|150px|left]] | ||
| + | |||
| + | <font size="4"> | ||
| + | [[Spinus]] is a level 115 boss that can be found in [[Shadowdune]]. Surrounded by [[Cactus Soldier]]'s you can find this boss standing high and proudly. Be weary of the [[Cactus Soldier]]'s as they're hostile and will attack on sight. This boss is farmed for one of its valuable drops the [[Cactus Ring]] which has slightly better total stats than the [[Ring of Might]], but trades defence for accuracy.</font> | ||
| + | |} | ||
| + | |||
| + | == <span style="visibility: hidden;">Ancient War Bat</span> == <!-- Anchor for TOC --> | ||
| + | {| style="width:100%;" | ||
| + | |- | ||
| + | | style="width:50%; vertical-align:top; padding:10px; background-color:#2c3552; color:white; border-radius:10px; box-shadow: 0 4px 8px rgba(0, 0, 0, 0.3);" | | ||
| + | <font size="5">[[Ancient War Bat]]</font> <br> | ||
| + | <font size="2">Located deep within the Frozen Tunnels.</font> <br> | ||
| + | |||
| + | [[File:Ancient War Bat m.gif|150px|left]] | ||
| + | |||
| + | <font size="4"> | ||
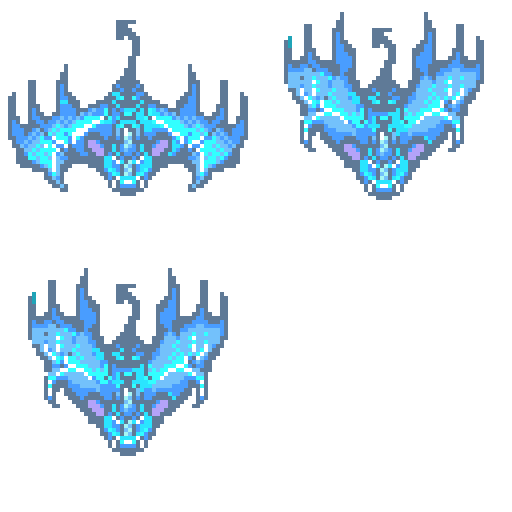
| + | The [[Ancient War Bat]] is located deep within the [[The Frozen Tunnels]]. The Ancient War Bat deploys spikers under your character which after 1.5 second(s) grows and traps anything unfortunately enough idle inside, then will stop its target from moving. (This can cause up to 1300 damage). Some noteworthy drops are the [[Glacial Helm]],[[Glacial Body]], and [[Glacial Legs]]. </font> | ||
| + | |} | ||
| + | == <span style="visibility: hidden;">Ice Demon</span> == <!-- Anchor for TOC --> | ||
| + | {| style="width:100%;" | ||
| + | |- | ||
| + | | style="width:50%; vertical-align:top; padding:10px; background-color:#2c3552; color:white; border-radius:10px; box-shadow: 0 4px 8px rgba(0, 0, 0, 0.3);" | | ||
| + | <font size="5">[[Ice Demon]]</font> <br> | ||
| + | <font size="2">Only found in its cell, inside of the prison.</font> <br> | ||
| + | |||
| + | [[File:Ice Demon m.gif|150px|left]] | ||
| + | |||
| + | <font size="4"> | ||
| + | Found in the [[Ancient Prison]], Entering this boss chamber will cost a fee of 5,000 [[Gold]]. It is known for being the only source of the powerful [[Phantom Helm]]. and [[Spectral Helm]]. Ice Demon's armour is near impenetrable, but this can be counter by luring him onto an active heater. Weakening Ice Demon's defense making it vulnerable to any attacks you throw at it.</font> | ||
| + | |} | ||
| + | |||
| + | == <span style="visibility: hidden;">Shadow Demon</span> == <!-- Anchor for TOC --> | ||
| + | {| style="width:100%;" | ||
| + | |- | ||
| + | | style="width:50%; vertical-align:top; padding:10px; background-color:#2c3552; color:white; border-radius:10px; box-shadow: 0 4px 8px rgba(0, 0, 0, 0.3);" | | ||
| + | <font size="5">[[Shadow Demon]]</font> <br> | ||
| + | <font size="2">Make your way towards the whirlpool East of Spawn, Secrets awaits.</font> <br> | ||
| + | |||
| + | [[File:Shadow Demon m.gif|150px|left]] | ||
| + | |||
| + | <font size="4"> | ||
| + | The '''Shadow Demon''' is a [[Boss]] in the [[Shadow Dungeon]] that has a small chance to spawn when a player defeats a [[Shadow Flame]] or [[Shadow Fiend]]. To fight it, players must wear a [[Dormant Shield]] or [[Elemental Shield]]. During battle, it occasionally absorbs all damage, then releases it at once when the effect ends, potentially dealing massive damage to the player. | ||
| + | </font> | ||
| + | |} | ||
| + | |||
| + | == <span style="visibility: hidden;">Reanimated Soul</span> == <!-- Anchor for TOC --> | ||
| + | {| style="width:100%;" | ||
| + | |- | ||
| + | | style="width:50%; vertical-align:top; padding:10px; background-color:#2c3552; color:white; border-radius:10px; box-shadow: 0 4px 8px rgba(0, 0, 0, 0.3);" | | ||
| + | <font size="5">[[Reanimated Soul]]</font> <br> | ||
| + | <font size="2">Only Spawns after defeating the Mummy Boss, found next to Nydarax entrance.</font> <br> | ||
| + | |||
| + | [[File:Reanimated Soul m.gif|150px|left]] | ||
| + | |||
| + | <font size="4"> | ||
| + | The [[Reanimated Soul]] is a level 300 demi-boss found in [[Shadowdune]]. Its summoning event starts randomly after [[Mummy]] is killed and takes 3 minutes to spawn.</font> | ||
| + | |} | ||
| + | |||
| + | == <span style="visibility: hidden;">Golem</span> == <!-- Anchor for TOC --> | ||
| + | {| style="width:100%;" | ||
| + | |- | ||
| + | | style="width:50%; vertical-align:top; padding:10px; background-color:#2c3552; color:white; border-radius:10px; box-shadow: 0 4px 8px rgba(0, 0, 0, 0.3);" | | ||
| + | <font size="5">[[Golem]]</font> <br> | ||
| + | <font size="2">Located inside of his Temple, only those who are brave shall enter.</font> <br> | ||
| + | |||
| + | [[File:Golem m.gif|150px|left]] | ||
| + | |||
| + | <font size="4"> | ||
| + | The '''Golem''' is a [[Boss]] found in the [[Temple of Varaxis]]. '''Watch out for falling ceilings!''' It drops various [[Boss Parts]] that can be crafted into powerful level 85 armor with 65 [[Smithing]]. During the fight, a warning message will appear before the ceiling collapses—stand in the green "safe zone" to avoid this deadly [[Magic]] attack. The Golem also charges up a powerful two-hit attack, first striking everything around it, then slamming the ground to kill anything nearby. '''Avoid this at all costs.''' | ||
| + | </font> | ||
| + | |} | ||
| + | |||
| + | == <span style="visibility: hidden;">Umbra, Guardian of Varaxis</span> == <!-- Anchor for TOC --> | ||
| + | {| style="width:100%;" | ||
| + | |- | ||
| + | | style="width:50%; vertical-align:top; padding:10px; background-color:#2c3552; color:white; border-radius:10px; box-shadow: 0 4px 8px rgba(0, 0, 0, 0.3);" | | ||
| + | <font size="5">[[Umbra, Guardian of Varaxis]]</font> <br> | ||
| + | <font size="2">You must first fight your way through the baby dragons, before facing this boss.</font> <br> | ||
| + | |||
| + | [[File:Umbra, Guardian of Varaxis m.gif|150px|left]] | ||
| + | |||
| + | <font size="4"> | ||
| + | '''Umbra, Guardian of Varaxis''' is a [[Boss]] found in [[Umbra's Lair]]. It drops various [[Boss Parts]] that can be crafted into powerful level 90 armor with 70 [[Smithing]], though the armor becomes untradeable after crafting. Umbra has three phases and rages twice between them. In '''Phase 1''', it slowly shoots dragon fire that lingers and deals up to 1,500 [[Burn]] damage. During '''Rage 1''', a 5x5 grid of dragon fire appears, dealing up to 5,000 [[Burn]] damage. In '''Phase 2''', dragon fire is shot faster with a higher chance of causing 5,000 [[Burn]] damage. '''Rage 2''' expands the fire to a 7x7 grid, increasing the burn damage to 6,000. In '''Phase 3''', dragon fire is shot even faster, with a high chance of causing 6,000 [[Burn]] damage. | ||
| + | </font> | ||
| + | |} | ||
| + | |||
| + | == <span style="visibility: hidden;">Mummy</span> == <!-- Anchor for TOC --> | ||
| + | {| style="width:100%;" | ||
| + | |- | ||
| + | | style="width:50%; vertical-align:top; padding:10px; background-color:#2c3552; color:white; border-radius:10px; box-shadow: 0 4px 8px rgba(0, 0, 0, 0.3);" | | ||
| + | <font size="5">[[Mummy]]</font> <br> | ||
| + | <font size="2">Make your way to the Pyramid in Shadowdune, don't forget your snake ring!</font> <br> | ||
| + | |||
| + | [[File:Mummy m.gif|150px|left]] | ||
| + | |||
| + | <font size="4"> | ||
| + | The '''Mummy''' spawns with four [[Cursed Totem]]s that constantly heal it until destroyed. It has three main attacks: a powerful [[melee]] attack that applies a curse debuff for 8 ticks, the summoning of [[Poltergeist]]s that rapidly attack and increase in number as [[Cursed Totem]]s are destroyed, and the creation of curse pools that deal 4,000 damage on impact and 2,000 over time for 8 ticks, which can reset if hit by the Mummy or a curse pool. Upon defeat, players are fully healed, and the [[Curse]] debuff is removed. The Mummy can drop 5-6 items on death. | ||
| + | </font> | ||
| + | |} | ||
| + | |||
| + | == <span style="visibility: hidden;">Nydarax, the Vengeful</span> == <!-- Anchor for TOC --> | ||
| + | {| style="width:100%;" | ||
| + | |- | ||
| + | | style="width:50%; vertical-align:top; padding:10px; background-color:#2c3552; color:white; border-radius:10px; box-shadow: 0 4px 8px rgba(0, 0, 0, 0.3);" | | ||
| + | <font size="5">[[Nydarax, the Vengeful]]</font> <br> | ||
| + | <font size="2">The biggest creepy crawler located deep beneath Shadowdune.</font> <br> | ||
| + | |||
| + | [[File:Nydarax, the Vengeful m.gif|150px|left]] | ||
| + | |||
| + | <font size="4"> | ||
| + | '''Nydarax, the Vengeful''' is a [[Boss]] found on the 5th floor of the [[Crypts of Nydarax]]. It drops various [[Boss Parts]] used to craft powerful level 90 and 100 [[Magic]] gear. The fight becomes harder depending on the amount of {{Item|Turmoil of Nydarax}} brought, but higher difficulty increases loot chances, including rare items and a boss pet. Nydarax is a stationary boss that only takes damage from [[Magic]], spell-inflicted [[Effects]], or [[Pets]] (excluding melee pets). As its HP drops by 25%, its attack speed, damage, and projectile frequency increase, while each 10% Turmoil added further boosts these stats along with its HP and XP rewards. Nydarax primarily attacks with magic bolts of varying strength, with larger bolts dealing more damage. It also has several special attacks: '''Sticky Webs''' that trap players for 5 seconds, '''Sacrifice and Drainage''' spiders that either damage the player or heal the boss if not destroyed, and '''Poison Pools''' that deal unblockable poison damage while healing Nydarax.</font> | ||
| + | |} | ||
Latest revision as of 14:04, 12 May 2025
Bosses are some of the most challenging fights in Curse of Aros. These creatures are the guardians of their areas and also drop some very unique and powerful gear. These can be assigned as a task from the boss task board. Below is a list of the current Bosses in Curse of Aros.
Contents
This Page WIP
|
War Bat
The War Bat can be found inside the head of a tomb, accessed with a |
|
Nature Elder This boss is located in the Nature Dungeon, but in order for the path to open you must kill 50 Baby Seedlings, or normal Seedlings. Upon Completion you will get the following message "You hear the sound of roots growing from the most North-West room." Welcome to the puzzle room, in order to get past this stage you must light up all 4 torches (Located North, East, South, and West in this room). Once all 4 torches are lit the portal in the center of the room will light up. Now you can enter the boss room and start the fight! WARNING: THIS BOSS CAN ONLY BE FOUGHT WITH MAGIC. MELEE PETS AND MELEE ATTACKS WILL NOT DAMAGE THE BOSS OR ITS MINIONS. While entering the boss room your screen will fade to black and display the following message: "The room goes dark and you hear faint sounds in the distance..."" You are then greeted with a minion that's impervious to melee attacks and must be attacked with Magic. During the Boss fight this boss can teleport you to the center of the room, restricting you from moving for a few seconds dealing 40% damage to your current HP pool. Nature torches can spawn around the room hitting you with 33% of your HP pool in magic damage. Once the Boss reaches 10% hp the screen will once again fade to black displaying the following message: "The floor crumbles below you as you begin to free-fall into a dark abyss." Once your screen is back to normal you are then greeted with Seed Guardians (Amount depending on how many players are in the first stage) Once killed the boss begins again with full hp allowing you to finish off the boss and collect your spoils. This boss only drops 2 items after death ranging from the nature staff, to materials useful for Spellbinding. |
|
Rock Demon Located deep within the Abandoned Mine's this boss has a small % chance of spawning when a player kills a Rock Fiend. At various points during the fight, the Rock Demon will begin soaking all damage taken, during this phase the boss will be invincible. Afterwards Rock Demon will return all damage taken back to the player dealing massive amounts of damage. At any point during the boss fight, Rock Demon will summon Rock Fiends to assist in the battle. This boss is best farmed for obtaining Deadrock gear such as the Deadrock Shield or valuable accessories such as the Amulet of Focus. |
|
Spinus Spinus is a level 115 boss that can be found in Shadowdune. Surrounded by Cactus Soldier's you can find this boss standing high and proudly. Be weary of the Cactus Soldier's as they're hostile and will attack on sight. This boss is farmed for one of its valuable drops the Cactus Ring which has slightly better total stats than the Ring of Might, but trades defence for accuracy. |
|
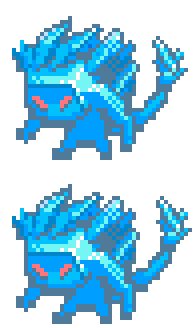
Ancient War Bat The Ancient War Bat is located deep within the The Frozen Tunnels. The Ancient War Bat deploys spikers under your character which after 1.5 second(s) grows and traps anything unfortunately enough idle inside, then will stop its target from moving. (This can cause up to 1300 damage). Some noteworthy drops are the Glacial Helm,Glacial Body, and Glacial Legs. |
|
Ice Demon Found in the Ancient Prison, Entering this boss chamber will cost a fee of 5,000 Gold. It is known for being the only source of the powerful Phantom Helm. and Spectral Helm. Ice Demon's armour is near impenetrable, but this can be counter by luring him onto an active heater. Weakening Ice Demon's defense making it vulnerable to any attacks you throw at it. |
|
Shadow Demon The Shadow Demon is a Boss in the Shadow Dungeon that has a small chance to spawn when a player defeats a Shadow Flame or Shadow Fiend. To fight it, players must wear a Dormant Shield or Elemental Shield. During battle, it occasionally absorbs all damage, then releases it at once when the effect ends, potentially dealing massive damage to the player. |
|
Reanimated Soul The Reanimated Soul is a level 300 demi-boss found in Shadowdune. Its summoning event starts randomly after Mummy is killed and takes 3 minutes to spawn. |
|
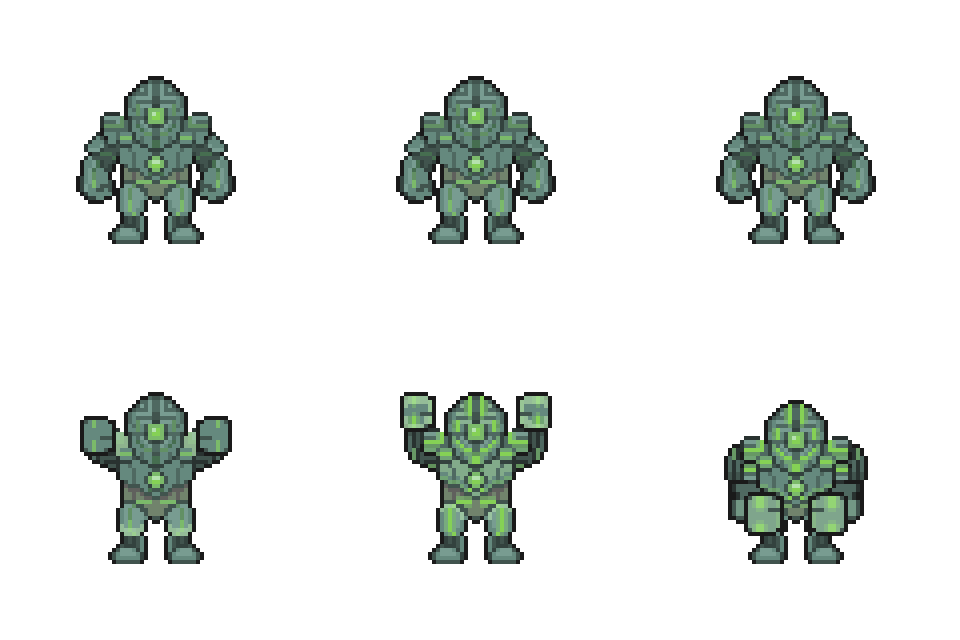
Golem The Golem is a Boss found in the Temple of Varaxis. Watch out for falling ceilings! It drops various Boss Parts that can be crafted into powerful level 85 armor with 65 Smithing. During the fight, a warning message will appear before the ceiling collapses—stand in the green "safe zone" to avoid this deadly Magic attack. The Golem also charges up a powerful two-hit attack, first striking everything around it, then slamming the ground to kill anything nearby. Avoid this at all costs. |
|
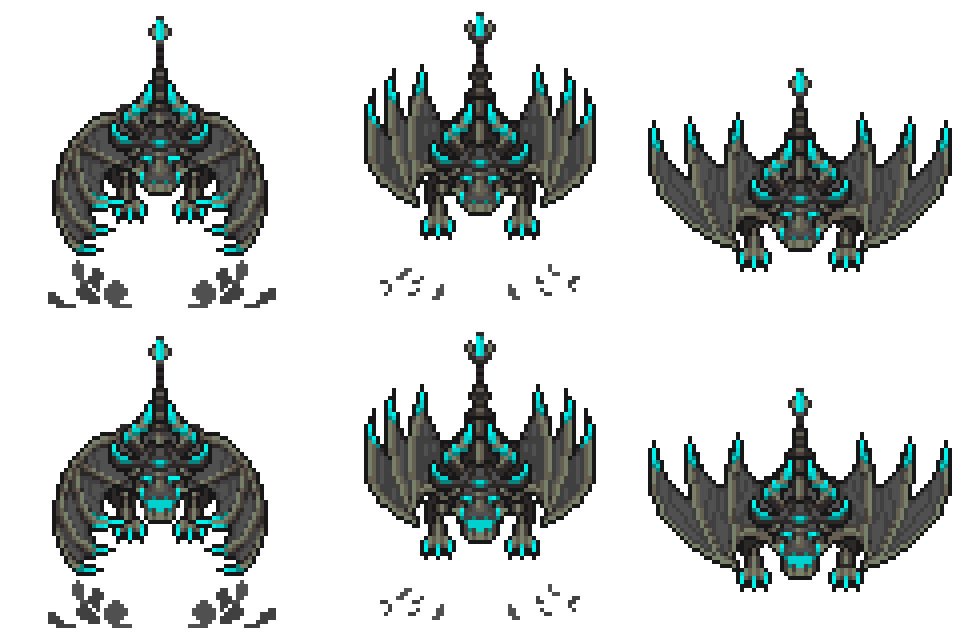
Umbra, Guardian of Varaxis Umbra, Guardian of Varaxis is a Boss found in Umbra's Lair. It drops various Boss Parts that can be crafted into powerful level 90 armor with 70 Smithing, though the armor becomes untradeable after crafting. Umbra has three phases and rages twice between them. In Phase 1, it slowly shoots dragon fire that lingers and deals up to 1,500 Burn damage. During Rage 1, a 5x5 grid of dragon fire appears, dealing up to 5,000 Burn damage. In Phase 2, dragon fire is shot faster with a higher chance of causing 5,000 Burn damage. Rage 2 expands the fire to a 7x7 grid, increasing the burn damage to 6,000. In Phase 3, dragon fire is shot even faster, with a high chance of causing 6,000 Burn damage. |
|
Mummy The Mummy spawns with four Cursed Totems that constantly heal it until destroyed. It has three main attacks: a powerful melee attack that applies a curse debuff for 8 ticks, the summoning of Poltergeists that rapidly attack and increase in number as Cursed Totems are destroyed, and the creation of curse pools that deal 4,000 damage on impact and 2,000 over time for 8 ticks, which can reset if hit by the Mummy or a curse pool. Upon defeat, players are fully healed, and the Curse debuff is removed. The Mummy can drop 5-6 items on death. |
|
Nydarax, the Vengeful
Nydarax, the Vengeful is a Boss found on the 5th floor of the Crypts of Nydarax. It drops various Boss Parts used to craft powerful level 90 and 100 Magic gear. The fight becomes harder depending on the amount of |
